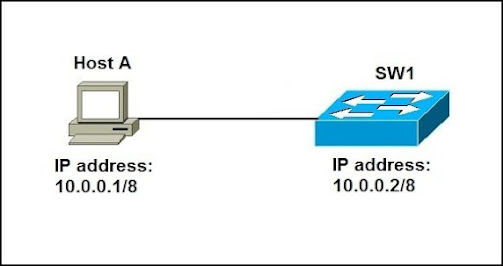
Aim: To configure the IP address for a computer connected to LAN and to configure network parameters of a web browser for the same computer.
To configure the IP address for a computer connected to LAN (Local Area Network)
Step 1:
First and foremost, attach the RJ-45 connector to the Ethernet network port on your PC.
Step 2:-
Right click on „My Network Places‟ icons located on the desktop and in the popup menu click on properties. You can also find it through the My Computer window. Alternatively, click „Start‟ from the taskbar and right click on “My Network Places‟ option from the popup menu. In the menu that appears select “Properties”.
Step 3:-
In the new Window that appears, under the LAN or High-Speed internet, right on „Local Area Connection‟ and select properties in the popup menu that appears.
Step 4:-
In the local area connection dialog box that appears under the connection box, scroll down and select “Internet Protocol (TCP/IP)” and click on “Properties”.
Step 5:-
To obtain the settings automatically, select „Obtain an IP Address Automatically‟. However, to use this option, you will need to have a DHCP server that will function in allocating and managing IP address to ensure that there are no conflicts.
To configure your PC to the network manually, follow the procedures listed below:
Click the option „Use the following IP Address‟. Enter the IP address to use. It is important that you consult your network administrator on the IP to use so as to avoid conflicts occurring in the network, i.e. a situation where two PCs have similar IP addresses. Thereafter, enter the Subnet Mask and Default gateway. #*The subnet mask is used to identify the network level you are in while the default gateway identifies the router connection.
Thereafter, enter the Preferred DNS server and Alternate DNS server address
Click „OK‟ to accept the changes or „cancel‟ to exit the setup
Check the option „Show icon in notification area when connected‟ and click „OK”. This will enable you to know if the local area connection is connected or disconnected.
Configure network parameters
If you want to browse a little more anonymously, or your business requires you to connect to their server, you may be considering connecting to the internet through a proxy. In order to connect to your chosen proxy server, you will need to adjust some settings in your Firefox browser. Read this guide to find out how.
2. Open the Advanced category. It is on the right end of the category list. Click on the Network tab.
3. Click the Settings button. This will open the Connection Settings window.
4. Choose “Manual proxy configuration”. This will allow you to enter information in the fields below
Enter your proxy information. Enter the proxy server that you are connecting to in the “HTTP Proxy” field. If you need to enter a specific port, enter it into the “Port” field.
Then press ok button


.png)


Comments